CS8000 Series API Documentation
CS8000 family of RF-switches are fully programmable RF switches.
In addition to a simple user friendly GUI, CS8000 switches can be controlled using JavaScript (NodeJS) or Python APIs which makes it very easy to integrate the switch in an automated test system.
This documentation provides detailed information about the API and how to use it to control CS8000 switches.
CS8216
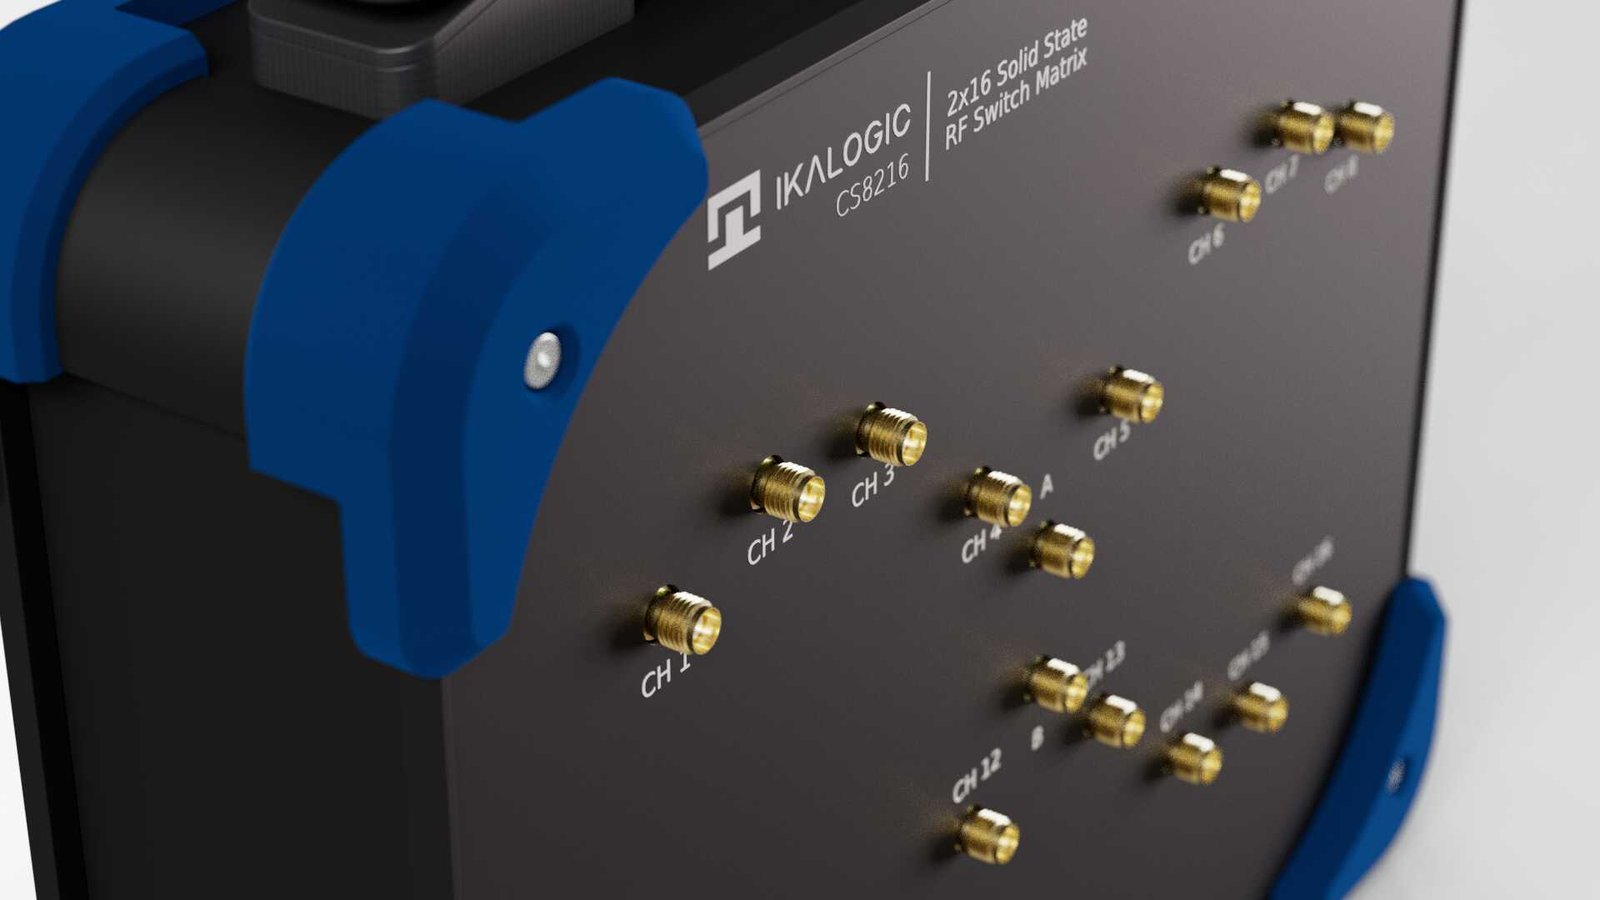
CS8216 is the first device of the CS8000 series RF switches: a 2x SP16T switch. This means that it offers 2 COMMON RF ports, each can be connected to 1 of 16 channels. It is capable of switching RF signals from 100MHz up to 8GHz with low insertion loss and high isolation between channels. Please refer to CS8000 product page for detailed specifications.
For the time being, CS8000 series currently consist of only one model : CS8216. Future devices may be added to the CS8000 family of RF switches. That being said the CS8000 API will remain compatible among all CS8000 devices. Similarly, future CS8000 devices will be designed to fully integrate with existing API.
CS8216 Key Features
- 2 COMMON RF ports
- 16 channels per port
- Frequency range: 100MHz to 8GHz
- Low insertion loss
- High isolation between channels
- JavaScript and Python APIs for test automation
This documentation focuses on the JavaScript / Python API and provides step-by-step methodology to setup a functional test sequencer using an CS8216. This is not a detailed datasheet for the CS8216 device.
This document assumes you have some general programming knowledge, specially in one of the following programming languages: JavaScript (NodeJS) or Python.
A simple CS8216 script
Before going further into the documentation of the API, let's look at the code required to perform a simple task: connect COMMON port 1 to channel 5, and COMMON port 2 to channel 10.
- NodeJS
- Python
import { CS8000 } from "@ikalogic/cs8000-api";
const sw = new CS8000("CS8216");
sw.open(); //if new serial number is provided, open first available device

sw.prepare(1, 5); //prepare to connect COMMON port 1 to channel 5
sw.prepare(2, 10); //prepare to connect COMMON port 2 to channel 10
sw.commit(); //apply the prepared connections
from ikalogic import cs8000
sw = cs8000.CS8000("CS8216")
sw.open()  # if new serial number is provided, open first available device

sw.prepare(1, 5)  # prepare to connect COMMON port 1 to channel 5
sw.prepare(2, 10)  # prepare to connect COMMON port 2 to channel 10
sw.commit()  # apply the prepared connections
As you can see, there are two distinct steps: defining the connections using prepare() method, and applying them using commit() method.
Both COM A and COM B RF ports will be switched simultaneously when commit() is called. This ensures that both connections are made at the same time.