Markers and measurements
A marker is a named point in time on the capture. A measurement spans two markers on one channel and computes something about the signal between them: how long it lasted, its frequency, its duty cycle, how many edges it had.
Both are in the Annotations card:
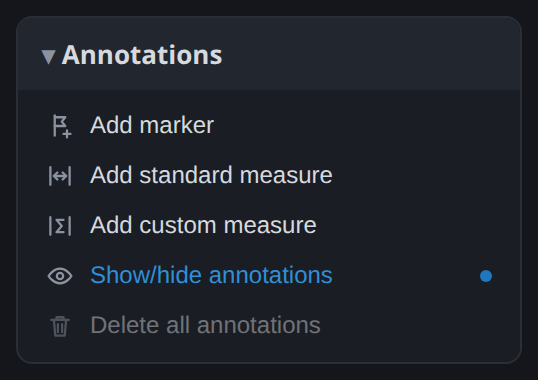
Markers
Add marker attaches a marker to the pointer; move it where you want and click to fix it.
Ctrl+M does the same.
Markers snap to nearby signal edges. This is usually what you want, since the times you mark
are almost always transitions. Hold Alt while placing one to put it exactly where the pointer
is instead.
To move a marker, click it once so it follows the pointer, move it, and click again to drop it.
The trigger has a marker of its own, added automatically when the trigger fires. It cannot be
moved or deleted, so the trigger instant stays trustworthy; Ctrl+T jumps to it.
Measurements
Add standard measure takes two clicks on a channel, one at each end of the region you want measured, and places the two markers as it goes. The result appears between them:
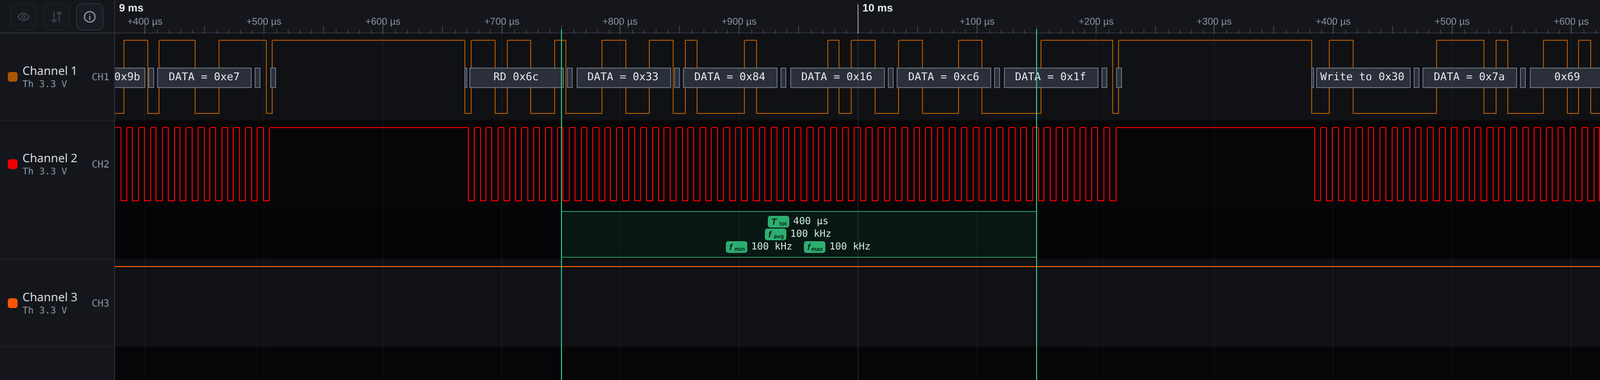
A standard measurement reports the timing set: total time, and average, minimum and maximum frequency. This covers most cases, and it is why it is one click away.
If a marker you want already exists, drop the new one on top of it: the existing marker is used and no duplicate is added.
Custom measurements
Add custom measure asks what to compute before placing the markers:
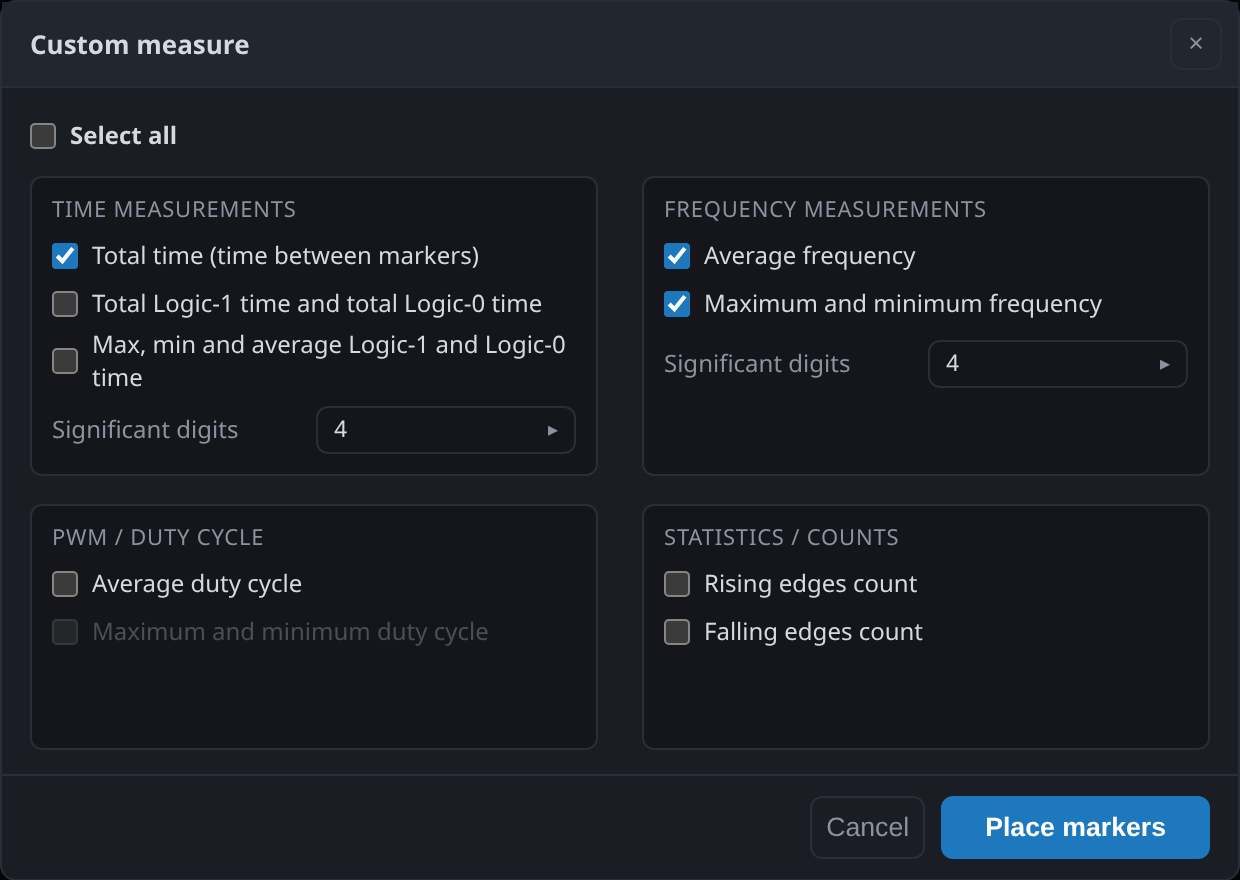
The choices are grouped:
- Time: total time between the markers; total time spent at logic 1 and at logic 0; the maximum, minimum and average of those.
- Frequency: average frequency; maximum and minimum frequency.
- PWM / duty cycle: average duty cycle; maximum and minimum duty cycle.
- Statistics: rising edge count, falling edge count.
Significant digits controls how the results are printed, per group.
Place markers then takes the same two clicks as a standard measurement.
Right-clicking an existing measurement lets you change what it computes, so a measurement that turns out to need duty cycle as well does not have to be placed again.
Moving and removing
A measurement can be moved as a whole, which keeps its width and slides it along the capture, or adjusted at either end by moving one of its markers like any other. Zoom in on the marker first if you need the boundary to be exact.
Delete all annotations clears every marker and measurement on the workspace.
Where the numbers come from
Measurements are computed by the server, over the samples it holds, and recomputed whenever a
marker moves. They are stored in the workspace, so they survive a save to .scana and are there
when the file is reopened.
The Measures View and Markers View list them as text, which is easier than hunting across the waveform once there are more than a few. Measurements can also be read from a script: see Driving ScanaStudio from code.