Protocol decoders
A protocol decoder reads the captured edges and says what they mean: that this is an I2C write to
address 0x3c, that this CAN frame carries these eight bytes, that this UART byte is 0x72. It
turns a picture of a bus into the transaction the bus was carrying.
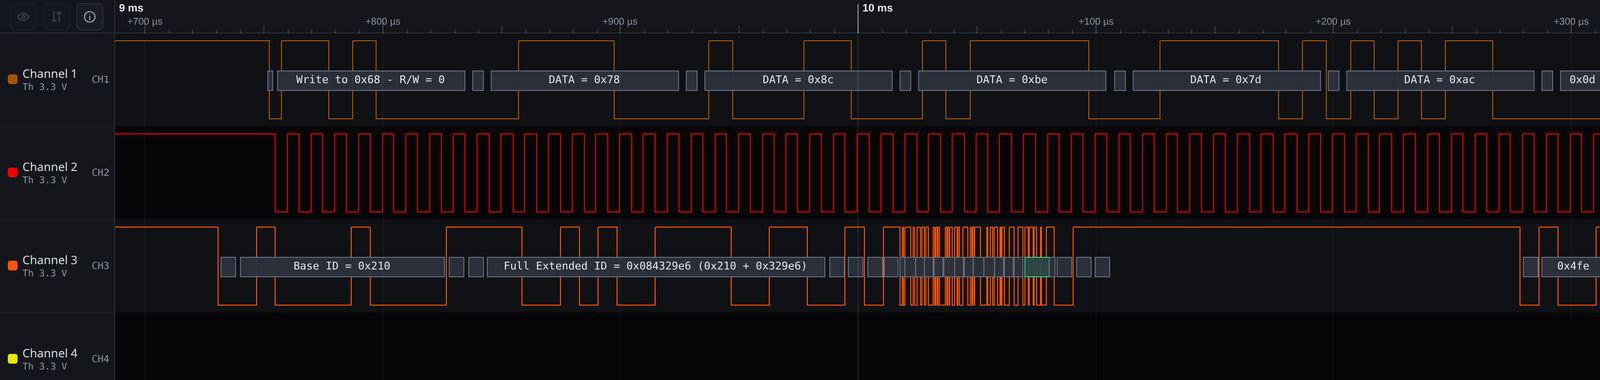
Decoded items are drawn above the channel they came from, so the interpretation and the evidence for it stay together. Zoom out and the items merge; zoom in and they separate again.
Capture first, decode second
We recommend capturing first, before configuring any decoder. Looking at the raw signals answers questions the decoder cannot:
- whether every probe is actually connected, and to the channel you think
- whether the threshold is right, or a signal is stuck high because it is wrong
- whether the traffic is continuous or happens once every few seconds, which tells you whether you need a trigger
- which channel is the clock, usually obvious on screen and easy to get wrong on paper
Once the signals look right, adding the decoder is a matter of naming which channel is which.
Adding a decoder
+ Add new… in the Protocols card lists the scripts in the library:
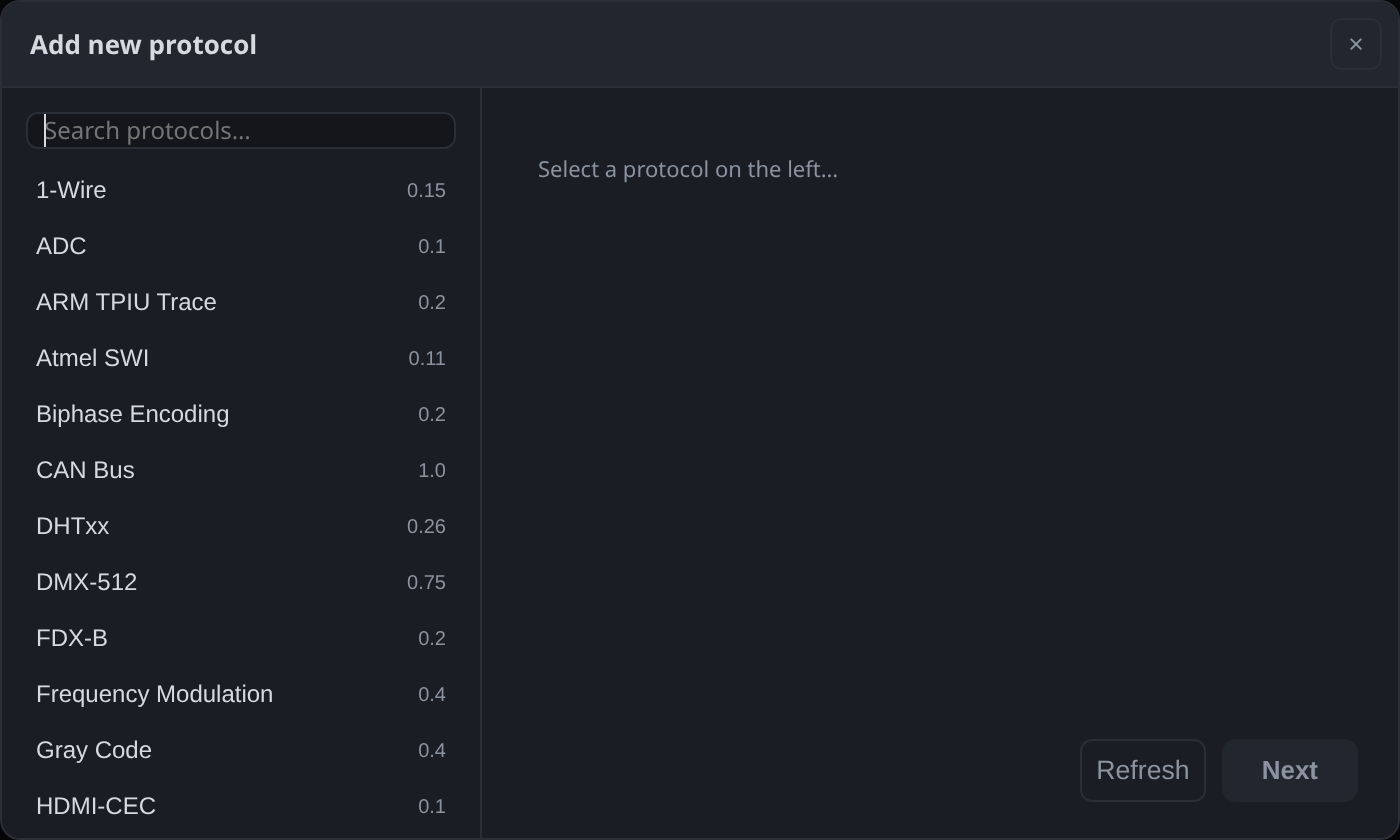
Pick one and click Next. The form that follows comes from the script itself, so every protocol asks for something different:
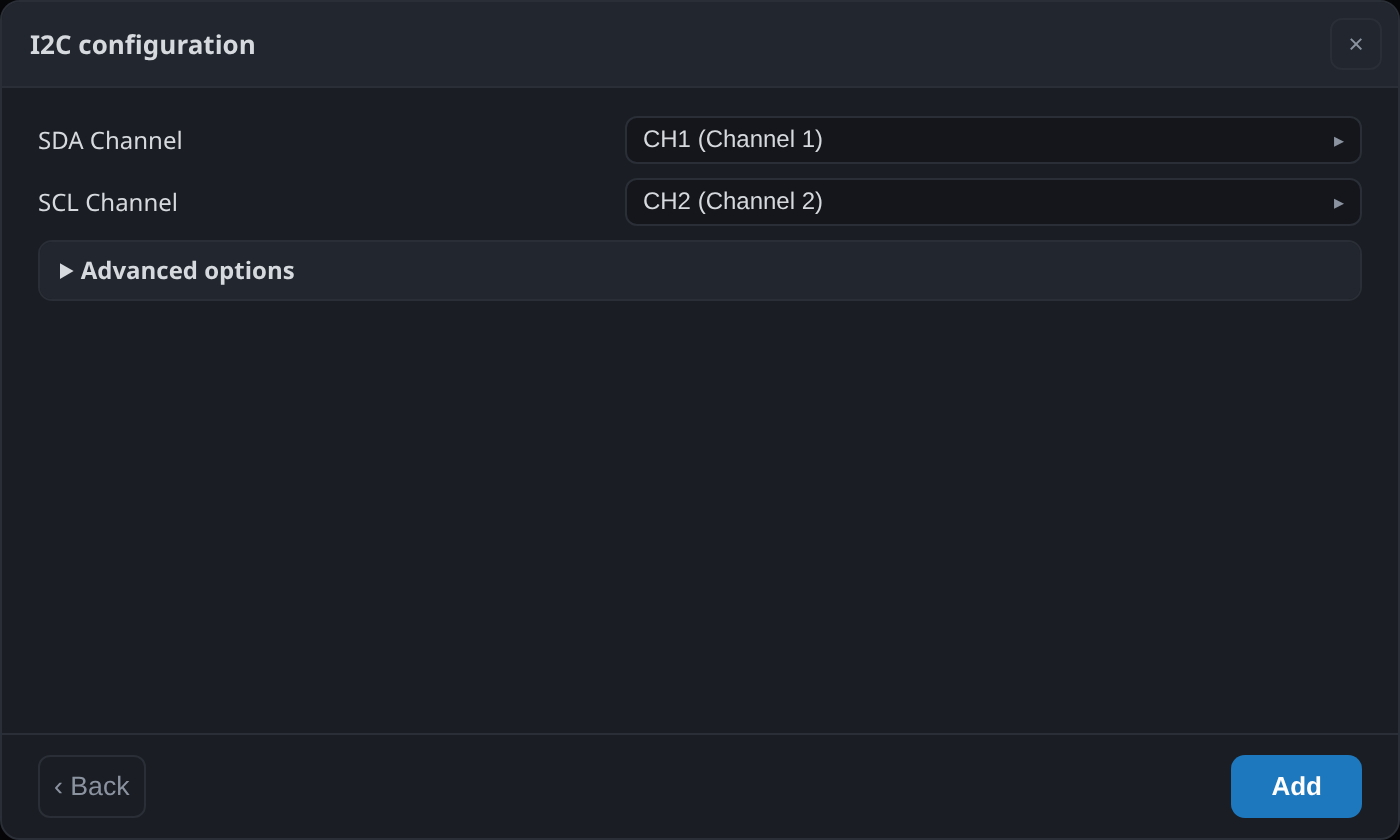
At a minimum a decoder asks which channels to read. Most also offer display options, and you should look through them instead of keeping the defaults: many decoders can show data in hexadecimal, decimal, binary or ASCII, and some let you choose separately per field. The I2C decoder, for instance, formats addresses and data independently.
Add starts the decoder. It runs on the server, over the samples already captured, and again automatically after each new capture.
Managing decoders
Each decoder appears in the Protocols card as a row with the name, the channel it reads and how many items it produced:
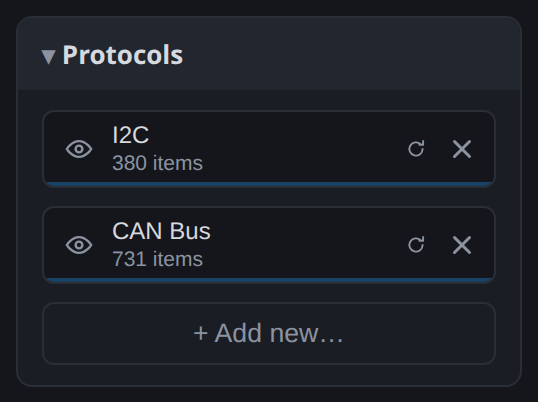
The controls on a row: the eye hides that decoder's items on the waveform without removing it, the circular arrow relaunches it, and the cross removes it and its settings. The item count is the quickest check that a decoder is working: zero items means it is reading the wrong channel, or the threshold is wrong, or the bus really was idle.
You can run several decoders at once, including two of the same protocol on different channels.
What a good decoder tells you
Decoding is not only transcription. Where a protocol defines a checksum or a CRC, the script computes it and compares it with what was on the wire, so a corrupted frame is marked as such rather than quietly transcribed. Where a frame is malformed, the item says so at the point it went wrong.
Not every protocol has that to offer. UART defines how a byte is encoded and nothing about what a message is, so a UART decoder can tell you a byte had a framing error but not that a message was wrong. CAN and LIN define frames and checksums, so their decoders can.
Where to read the results
The waveform is the right place to look at a few items in context. For anything larger, the views list decoded items as text you can filter and search, and double-clicking a row jumps the waveform to it.
Getting more decoders
Decoders are JavaScript files in the server's script library, and the same library is shared by every workspace. The script manager installs new ones and updates the ones you have: see Protocol scripts and the script manager. The full catalogue is listed in List of available protocol scripts.
If the protocol you need is not there, you can write it: the scripting manual covers the API. The existing scripts are open source, so start by reading one that is close to what you need.